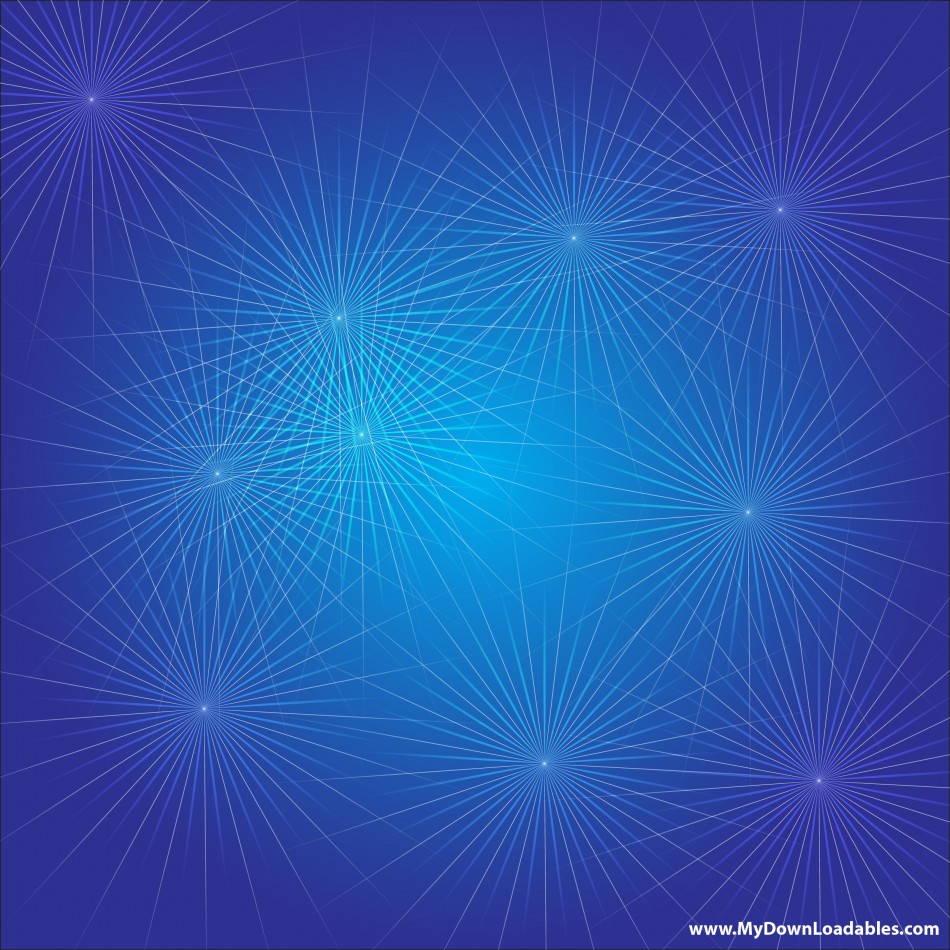
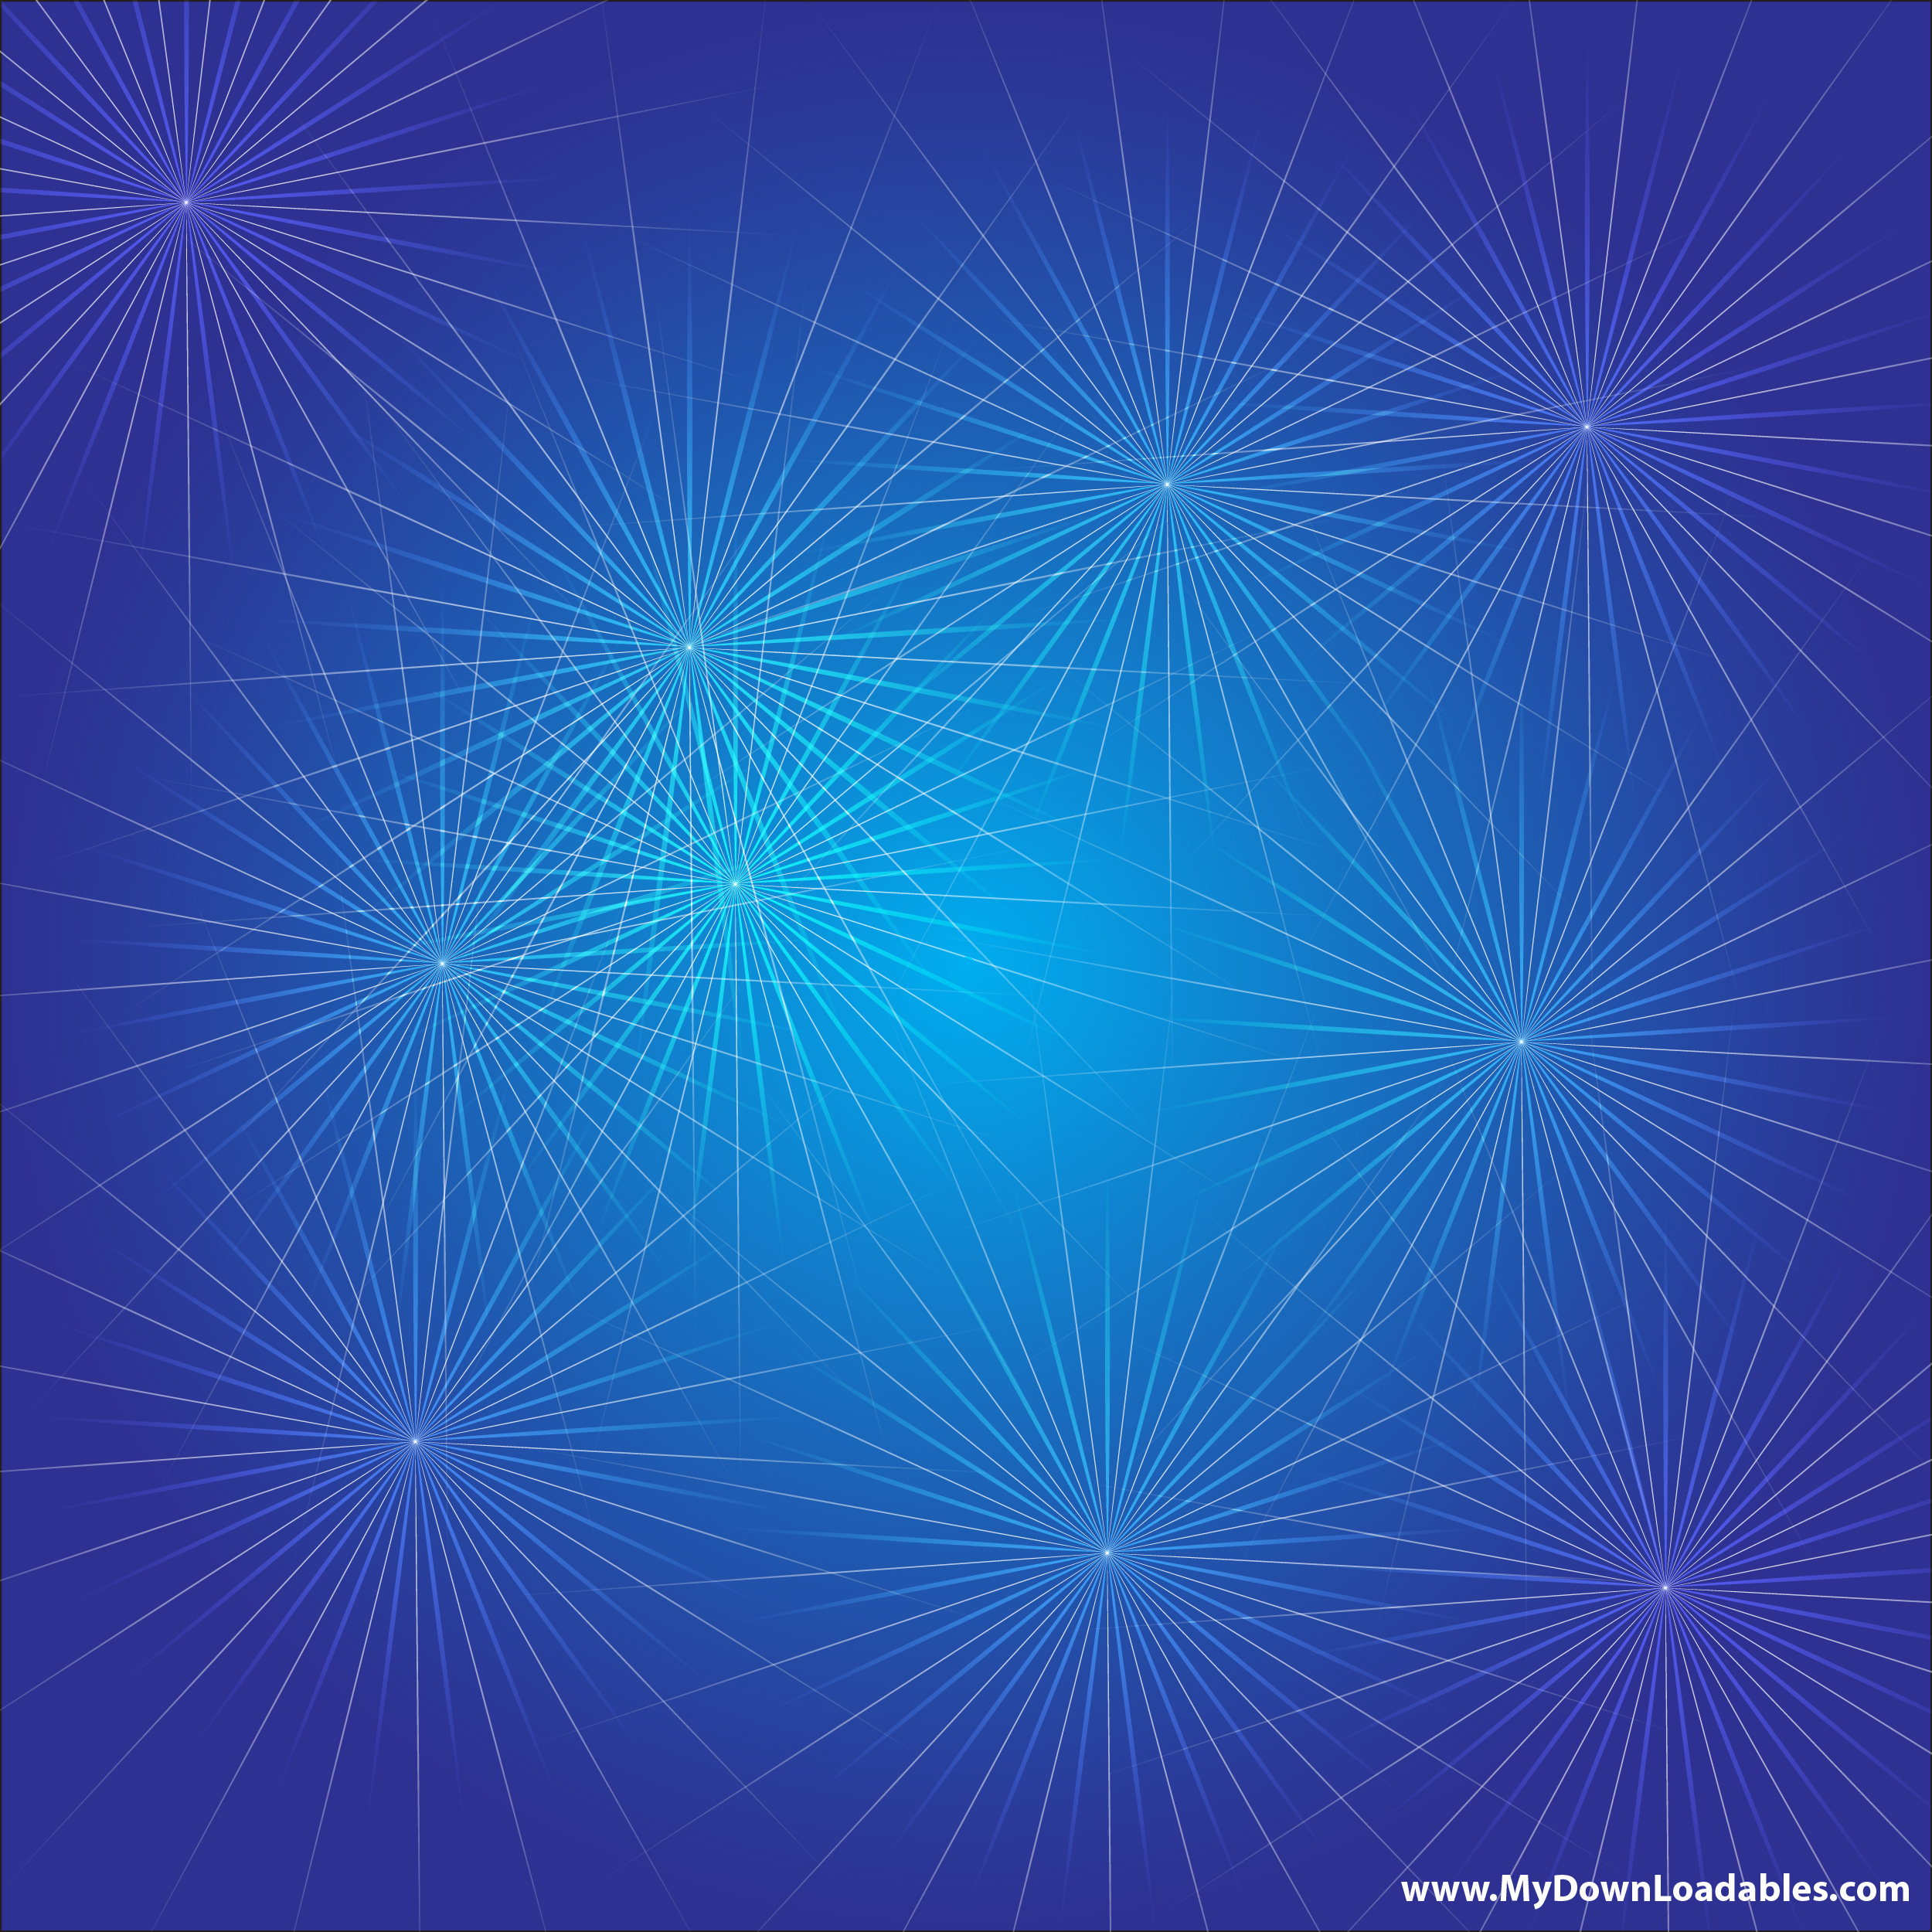
Learn how to create a simple starry night background in five minutes using the Polar Grid Tool in Adobe Illustrator.
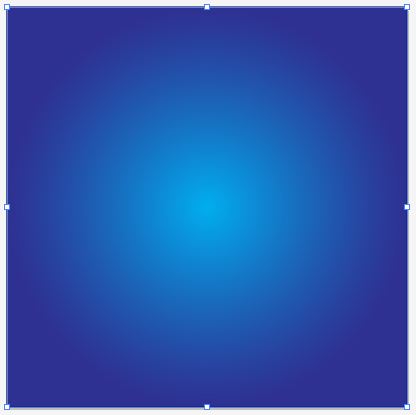
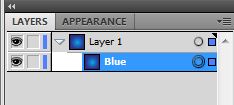
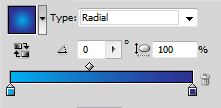
- Using the Rectangle Tool (m) draw a square across the canvas and give it a Radial Gradient from light to dark blue. Name the layer Blue.
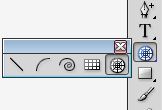
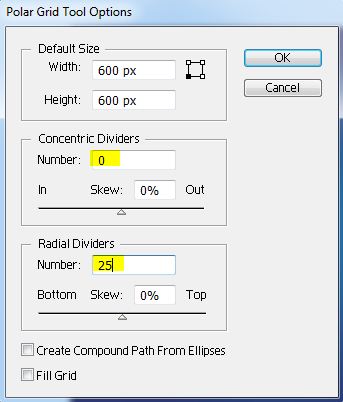
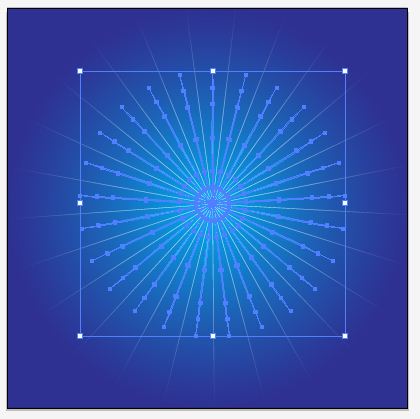
- From the Line Segment tool (\)drop down menu, select the Polar Grid Tool.Click anywhere on the canvas to access the settings. Concentric dividers draw concentric circles from the center out. Set Concentric Dividers to 0. Radial dividers draw lines in a radial manner around the center. Set Radial Dividers to any number and press OK.
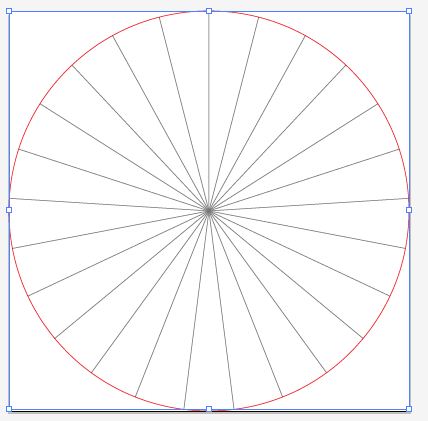
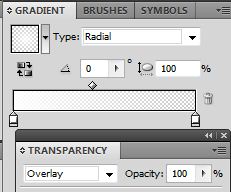
- From your layers panel, select the bottom group containing the outer circle and delete it.Select the radial group and go to Object / Expand from the main menu. Since none of the lines are touching we will need to draw a very small circle at the center of the radial, select the radial and circle and Unite them to create a single path. Apply a soft white radial gradient that fades from the center out. Set layer transparency to Color Dodge.




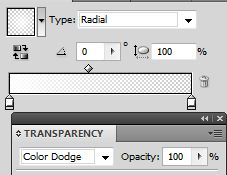
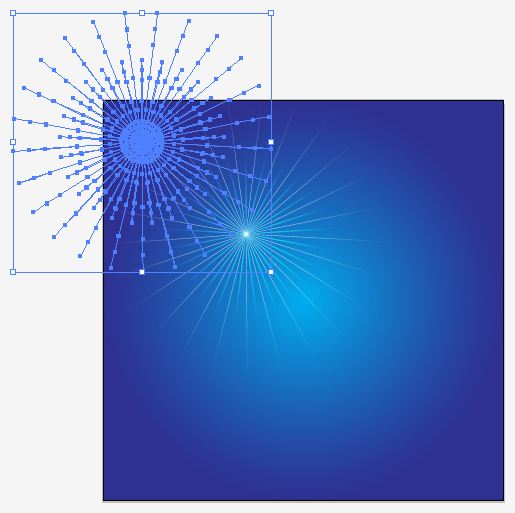
- Duplicate the path, slightly rotate and make smaller. Set layer transparency to Overlay and group.Using the Selection Tool (v) select the group, make it smaller, and while still selected press (alt + click) and drag the mouse to duplicate the group. (Release the mouse click before the alt.) Randomly resize and place anywhere on the background.
Repeat the previous step several times to create a simple starry effect.
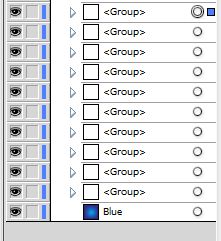
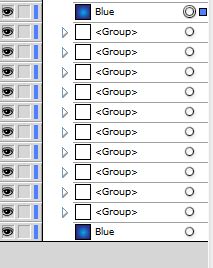
Click on the Blue layer and copy it (ctrl +c). Click on the top Group and paste it in front all the layers (ctrl + f).
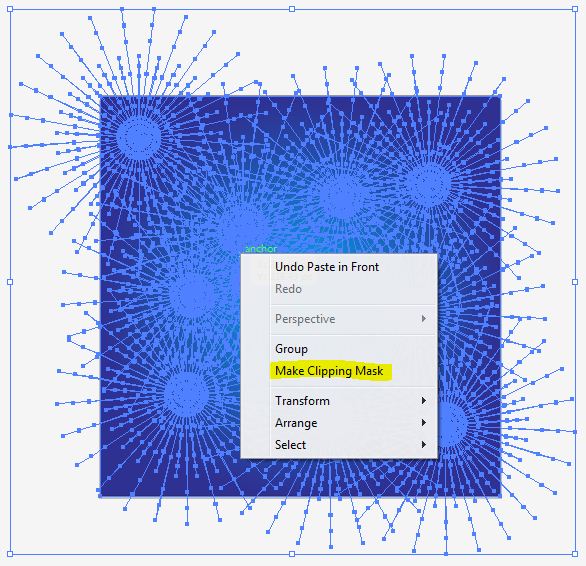
Select everything on the art board, right click and select Make Clipping Mask.
I hope you enjoyed this tutorial.


Can you be more specific about the content of your article? After reading it, I still have some doubts. Hope you can help me.
Thanks for sharing. I read many of your blog posts, cool, your blog is very good.
pN2MtjvZWK2
ZvpAHAmVlSk
rjK2V8uKbLu
PzdX7vk2BHN
nGTnypM2Gez
jpfWQloWscg
mO1vd2xLM8n
HoZ3x6NPCCU
dag6TlZIIRd
cpjbSxlyRMc
lijZyoHSCrI
QIKyZZMgaLm
L6HPwCcsvj3
hWo9kn6oVE7
qu0gSNtQAdg
a0jooGmksCV
Bl8siKovQtB
IJw40E7qAA0
XQdwTJfzFhV
d9rofSjqlmP
JPit96BdUME
fbgqZiiirFH
GMcYU8FqZLi
sVg1zi1joxl
sb0o9tNXPh8
S2zaGEcLWcB
Mhz2usf8YaH
V6kWX54lYn8
bxM0YIbsYv6
Ux8vUODEJFu
drx9sT4uZOy
VgZxa6i1FU7
LKmY9lddsWE
MYMTzP9nW6k
XFaUFnYXR7W
Your point of view caught my eye and was very interesting. Thanks. I have a question for you.
Thanks for sharing. I read many of your blog posts, cool, your blog is very good.