
Create a Christmas Tree Card with a starry effect quickly and easily using Adobe Illustrator.
- Create a new document 600 px * 600 px.
Creating the Background
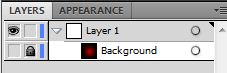
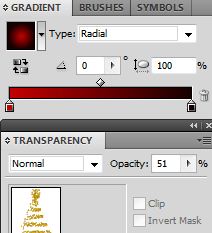
Using the Rectangle Tool (m) , draw a shape covering the art box. Give it a red to black radial gradient. Rename layer Background. Lock layer and hide it for now.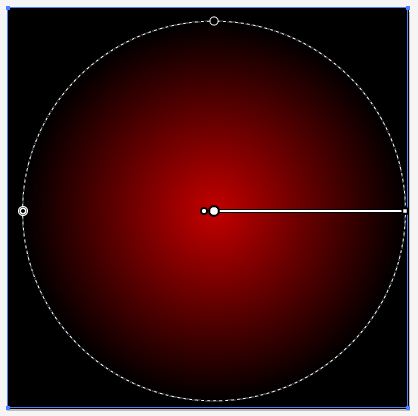

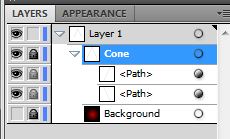
- Creating the Cone
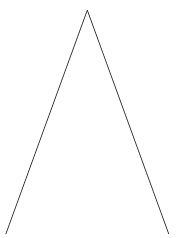
Using the Line Segment Tool (\) press (shift) when you click you mouse to draw a straight line. - Select the line with the Selection Tool (v) . From the main menu to go Object / Transform / Rotate. Play around with the angle to get the desired slant and press

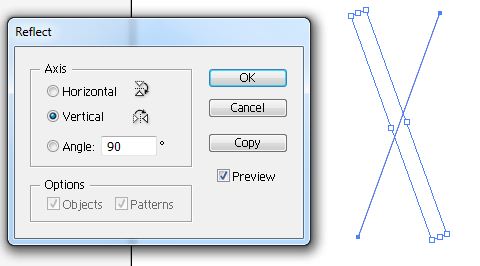
- With the line still selected from the main menu go to Object / Transform / Reflect. Select Vertical and press Copy. Move the copy to the left so that the top tips are touching, forming the cone shape. Group layers, rename as Cone and lock group layer.
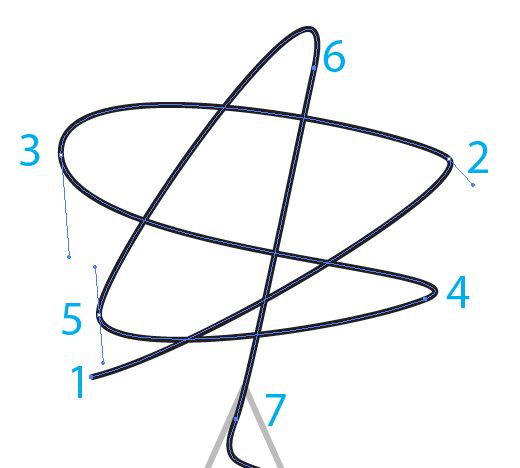
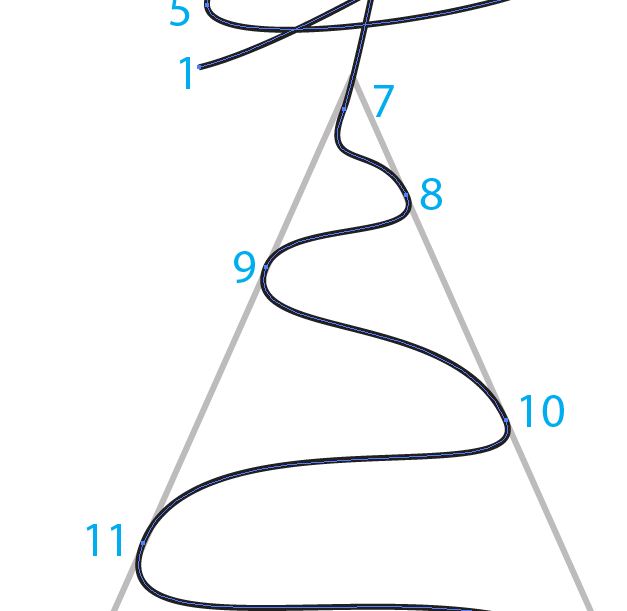
- Drawing the Lights
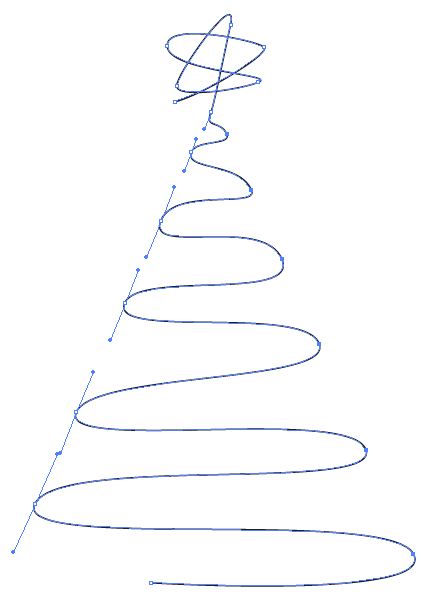
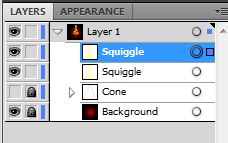
Using the Pen Tool (p) start out with a few points above the cone tip to create the star. Proceed to draw out the squiggle shape by placing the anchor points along the sides of the cone. Refine your handles using the Direct Selection Tool (a) , aligning the handles along the lines of the cone. Rename layer Squiggle.

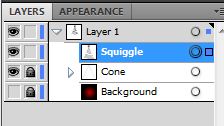
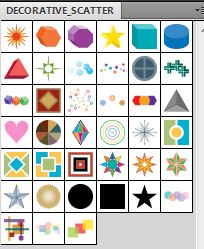
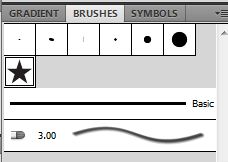
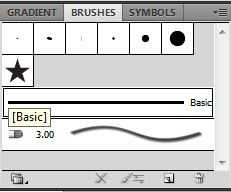
- Hide the Cone group. Unhide the Background. Give the Squiggle path a nice bright yellow stroke. Apply the Tiny Stars brush from Brush Library Menu / Decorative / Decorative Scatter / Tiny Stars.
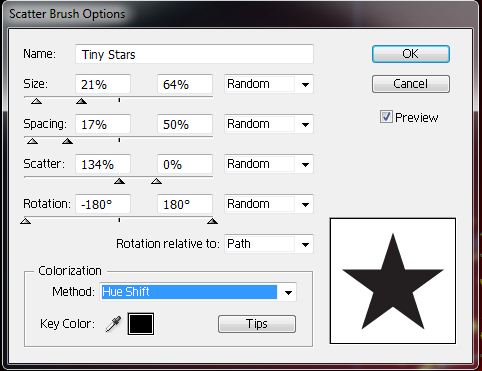
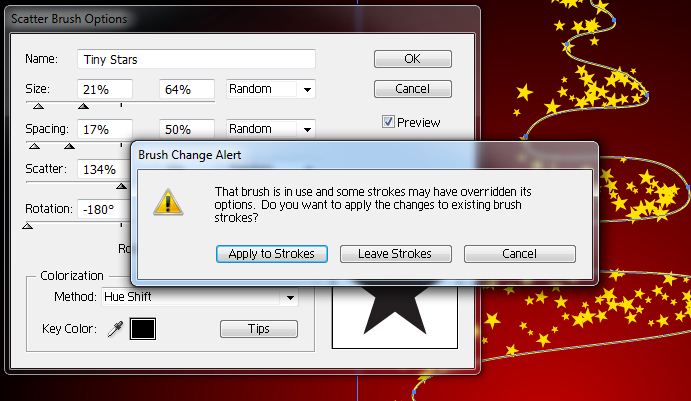
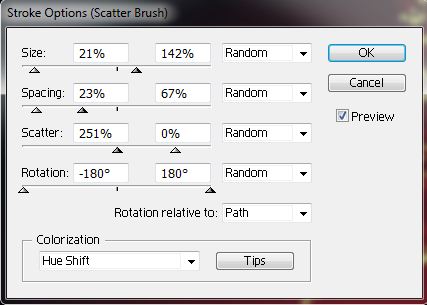
- From the Brush Panel double click Tiny Star icon to access its Scatter Brush Options. Adjust your setting so that the stars line up in a nice visual way. Press OK and then Apply to Strokes.

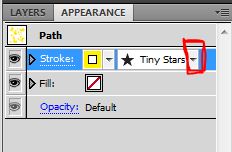
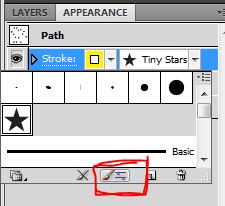
- Duplicate Squiggle layer (ctrl + c + f). From the Appearance Panel edit the brush stroke options. Make slight variations with the settings. Editing from the Appearance panel will only edit the brush setting for the current layer. From the main menu go to Object / Expand Appearance.
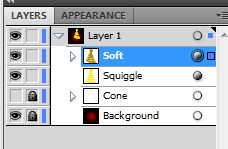
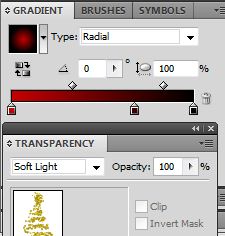
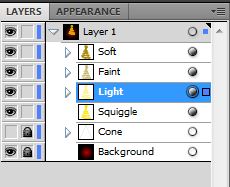
- Rename group Soft. Give it a bright to dark red radial gradient and a bright yellow stroke. Change the Transparency to Soft Light.


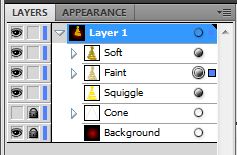
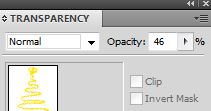
- Repeat step 8. Rename the new group Faint. Give it a bright to dark red radial gradient and a bright yellow stroke. Drop the Opacity.

- Repeat step 8 again. Rename group Light. Drop the Opacity.

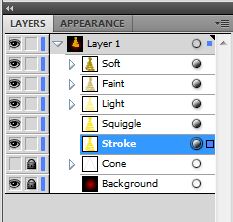
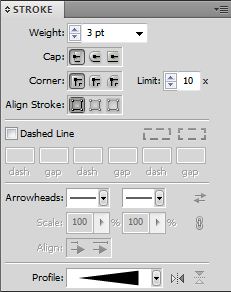
- Select Squiggle, copy and paste to the back (ctrl + c + b). Rename layer to Stroke. Change brush settings to Edit the stroke settings using Width Profile 4. Shift down a few pixels.

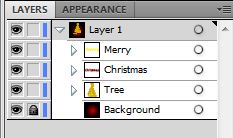
- Unlock and delete layer cone. Select all layers and group. Rename group tree.

- The Text
Select a couple of nice fonts. From the main menu go to. Rename groups. Fill Merry with a bright yellow and give Christmas a red linear gradient fill.

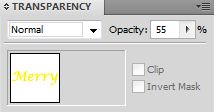
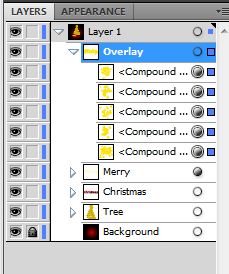
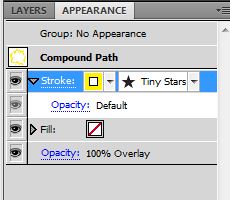
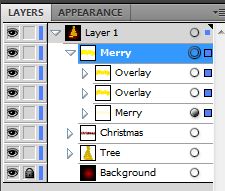
- Merry: Drop the opacity. Copy and place to the front (ctrl + c + f). Select each compound object individually. Clear the fill, add Tiny Stars Brush to stroke, edit from the appearance panel, expand appearance and set transparency to Overlay. Rename group to Overlay. Repeat with a different brush variation. Group the three layers and name group Merry.

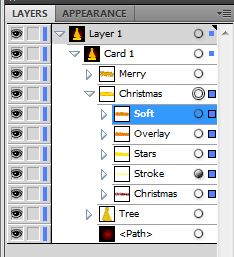
- Christmas: Using the same sequences as above, build a few group layers and play around with the Transparency. Shift the Christmas group to the right to enhance the shadows. Select all layers, group, and rename Christmas.

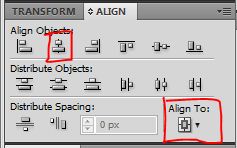
- Select Merry, Christmas and Tree. From the Align panel, Align to Art Board, Horizontal Align Center.

Your final image should look similar to this.

I hope you found this tutorial both useful and fun.
Comments are closed.